Shutter Happy*: A Tale of Too Many Photographs

Shutter Happy*: A Tale of Too Many Photographs

Travel is a good thing. That said, the many wonders discovered while traveling can result in too many photographs. As a digital photographer, how does one balance the easy creation of photos, with the reality of sorting, storing and processing them? If you’ve been discouraged by wasting time with an overabundance of photos, read on.

(*Just for fun, I’ve selected a trip-hop track, Trigger Hippy, for this post. If that’s up your alley, have a listen while you read.)

First, a story

Decades ago—in the age of film—a friend was in the premier photo processing shop in Washington, D.C. A man came in with a duffel bag full of exposed film rolls and dumped it on the counter. He was a National Geographic photographer just back from a trip, and the friend asked how many publishable photos the guy would get out of all those rolls.

“One or two, if I’m lucky,” was the response.

I suspect the photographer got back hundreds of contact sheets—not unlike Lightroom’s or iPhoto’s thumbnail collections—and had to examine each with a loupe, looking for the most promising photo candidates for test-printing and possible publishing. Maybe he was extraordinarily fortunate and had an assistant, or some low-level editor, to help with such a chore, but I’m skeptical.

I sure don’t.

The allure of the subject

This last quarter we’ve traveled a lot—two vacations, a work-related trip, and several day trips—in Germany, Luxembourg, Switzerland, Italy, and France. Each time I’ve come home with a lot of photos, and I’ve dealt with them expediently.

However, after the last 12 days in Switzerland and Italy, for the first time in my life I truly feel overwhelmed. With way too many photographs to easily handle, I’ve spent days and days culling, sorting and organizing.

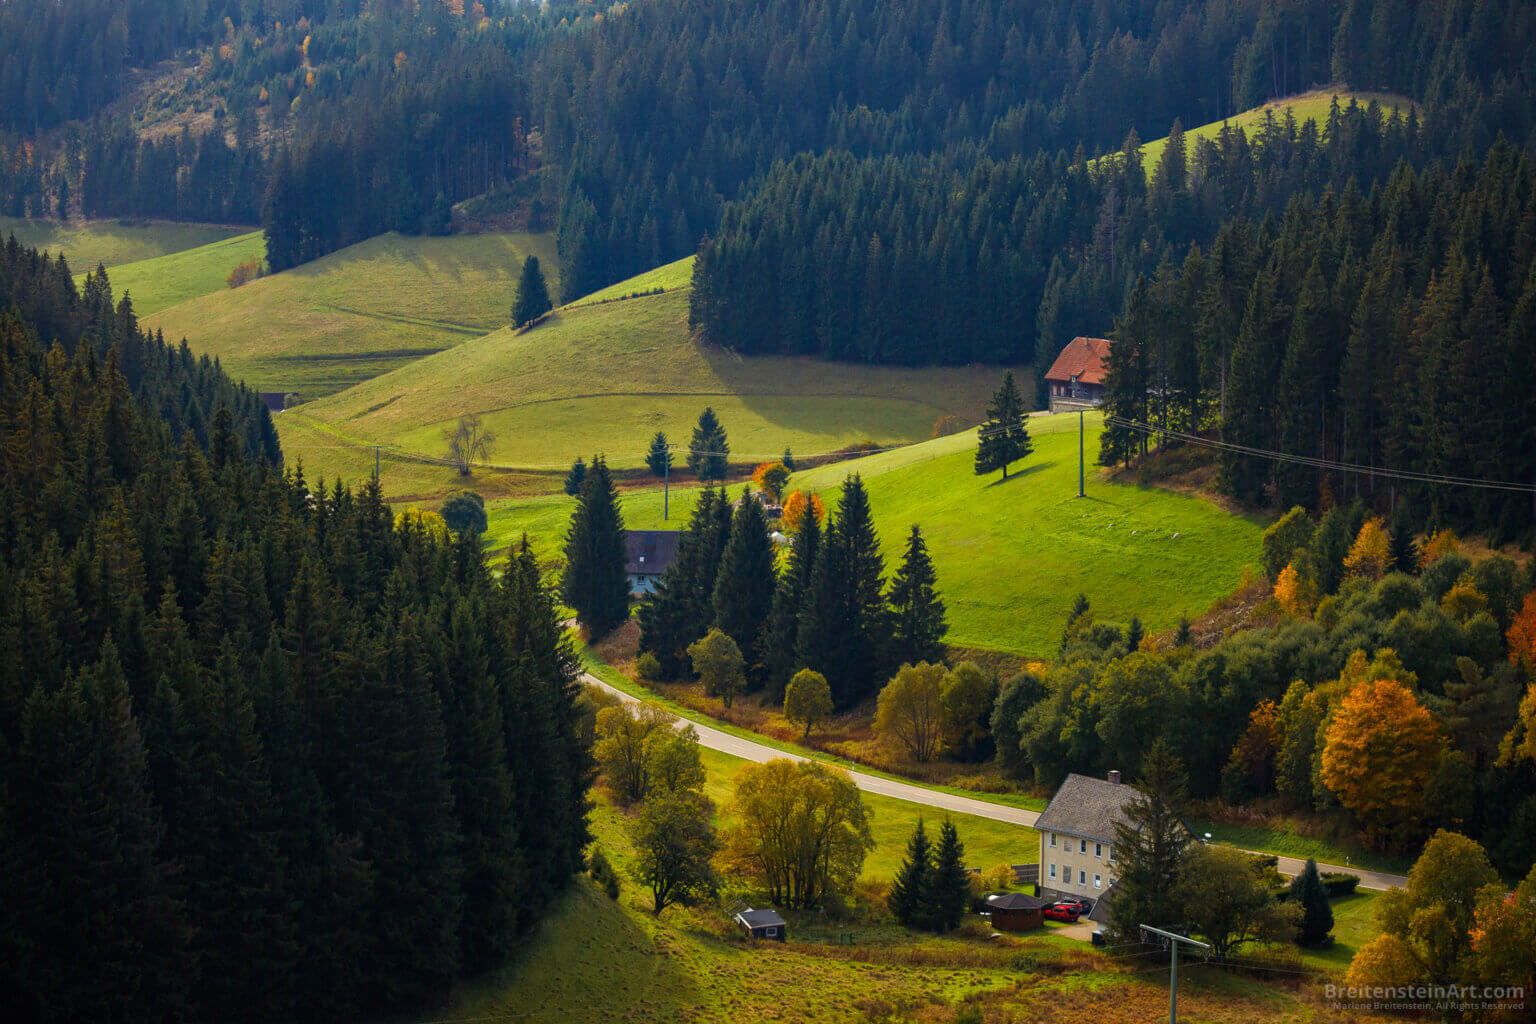
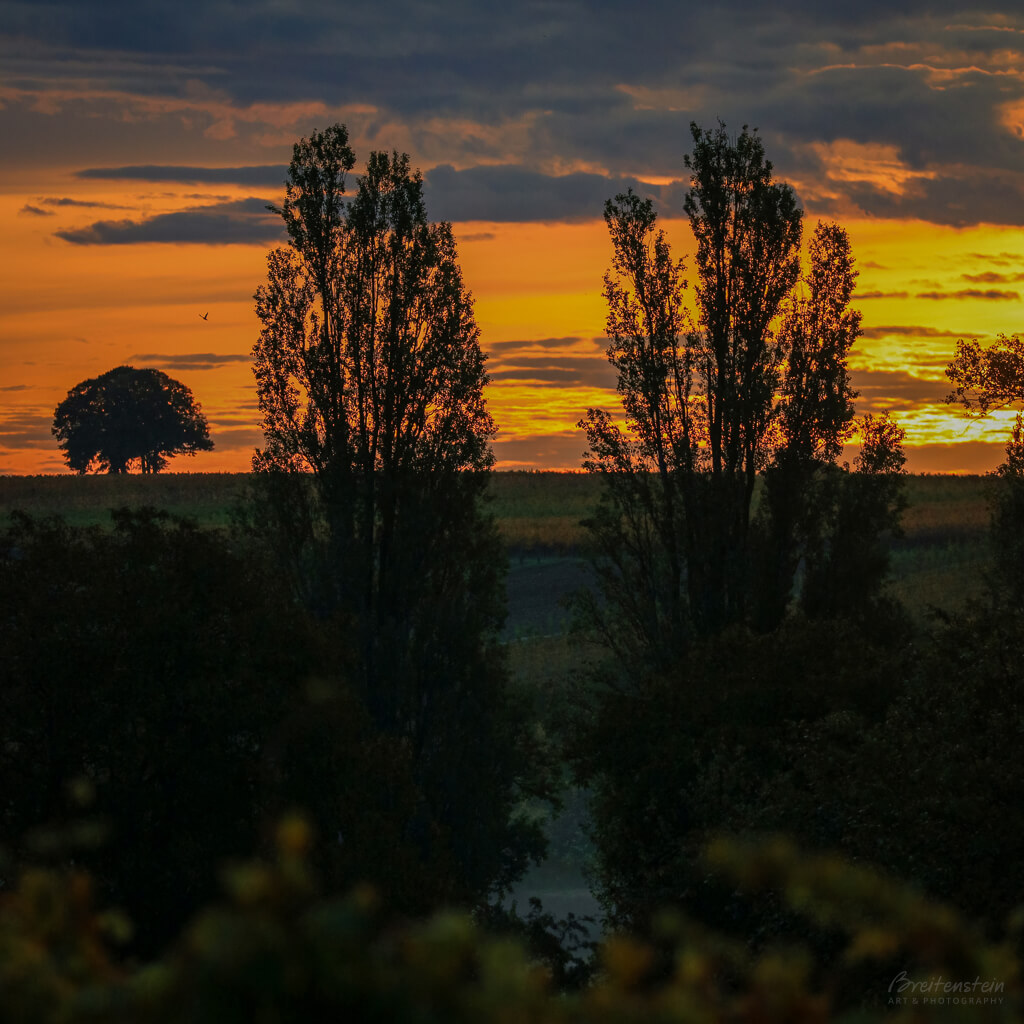
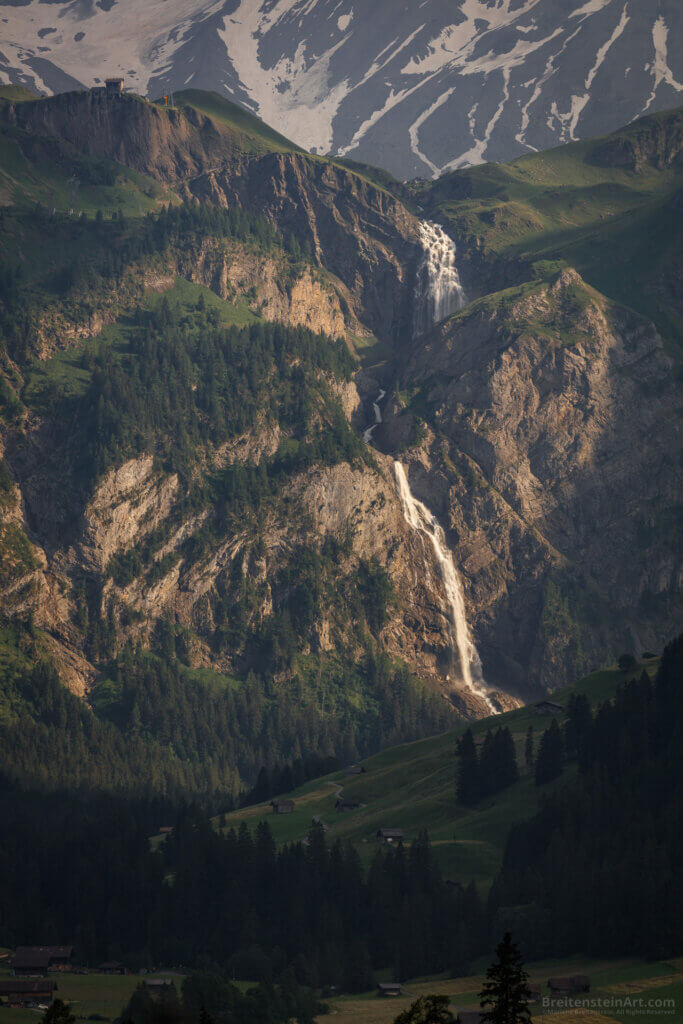
After all that deleting, from this last trip alone, I still have 1400+ that I like. Like this one:

This photograph shows a green, rural, shadowed valley. It is dotted with occasional farm buildings and fields, Swiss chalets, and groves of very large spruce trees. Rising from the mid-ground is a large and rocky mountain cliff-face of tan-gray rock, with diagonal stripes, some grassy expanses, and more spruce. Its summit is topped by a tiny-looking cable car station on the left. The cliff is illuminated by a large patch of evening sunlight. From a dip in the crest appears a huge waterfall, cascading down the mountain in several steps, as it winds around the craggy surface. Above the summit is the slanted plane of an even larger mountain, striped with snow.
Engstligen Falls are the second largest waterfalls in Switzerland, at 600m (2000’).

While I’m really happy with some of the results, I’ve had to ask myself: what the hell am I doing? Yes, I sell my work, but I’m not a National Geographic photographer looking for that elusive, primo shot. Who are all these photos for?

The burden of the post-trip phase of culling, sorting and organizing has been weighing heavy on my shoulders. Something must be done.

Why so many photographs?

The first step was to ask, why do I take so many photos to begin with? (Such as seven photos, or fifteen, of the same subject, from the same angle.)

Sometimes, I’m simply not evaluating and choosing my subjects carefully, or I’m being shutter happy.

However, most often I’m trying to compensate for possible lack of sharpness and exposure insecurity, due to:

  • Sub-par lighting conditions
  • Camera movement
  • Focus challenges in dim light
  • Inadequate equipment
  • Lack of know-how and skill
  • Poor knowledge of a location or subject
  • Shooting out the window of a moving car

Working smarter, not harder

For me, there appears to be a few key ways to cut down on taking too many photographs, minimizing wasted time and effort. If you too get shutter happy, consider these.

Subject + Composition

First, the obvious: don’t take photos of everything that might be interesting.

For a short while it might be worth going out to photograph more often with the specific aim of shooting less. To deliberately exercise restraint and decision-making, in the face of opportunity.

Remember to practice thoughtful assessment of the elements of composition. (There are more good links covering the elements of composition in my post, Benefit from Standing Back.) I’m not an amateur and my eye is well-developed. Still, sometimes I get careless, especially if I’m over-excited or not well rested. Those are the times I really need to be thoughtful.

When possible, it’s worth re-visiting the same spots at different times. With familiarity, you’ll learn what each place offers and how to approach those opportunities more wisely, with less effort and waste.

Sharpness

  • Use a tripod more often (something I’ve been reluctant to embrace).
  • In the car, only photograph when something looks exceptionally alluring.
  • Get a remote shutter trigger for low-light, longer exposure shots, to minimize jarring the camera.

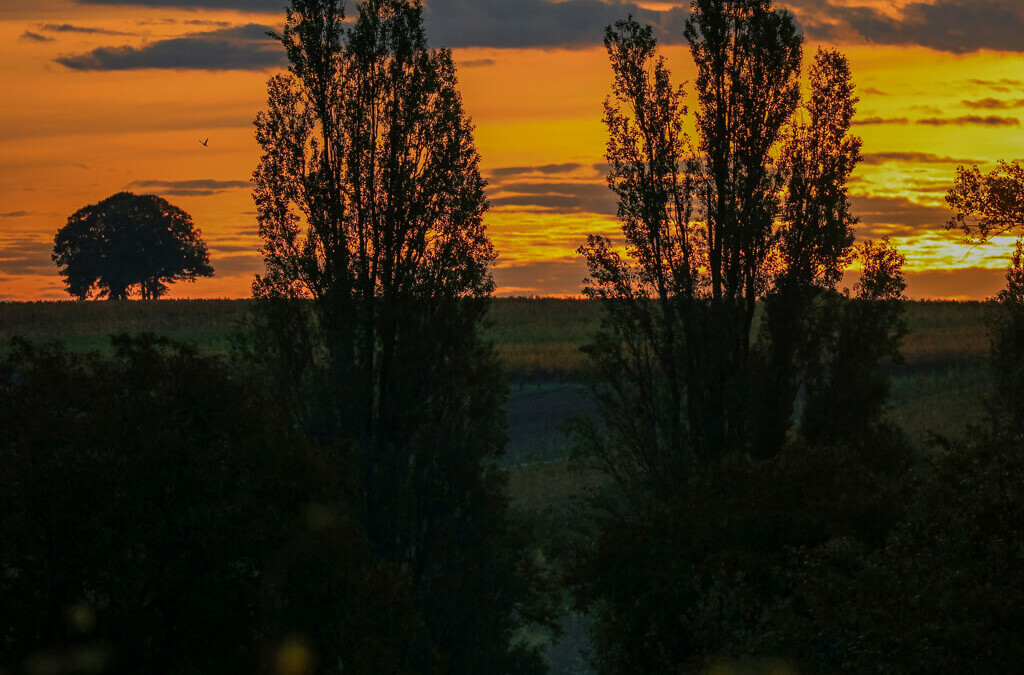
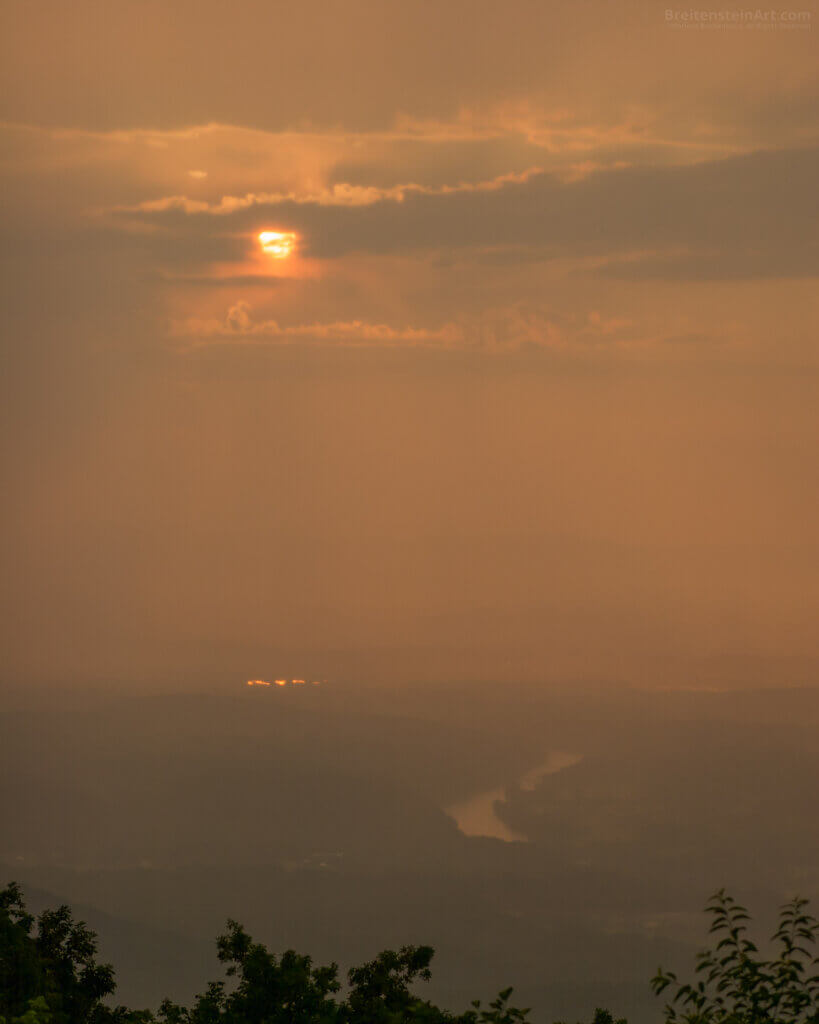
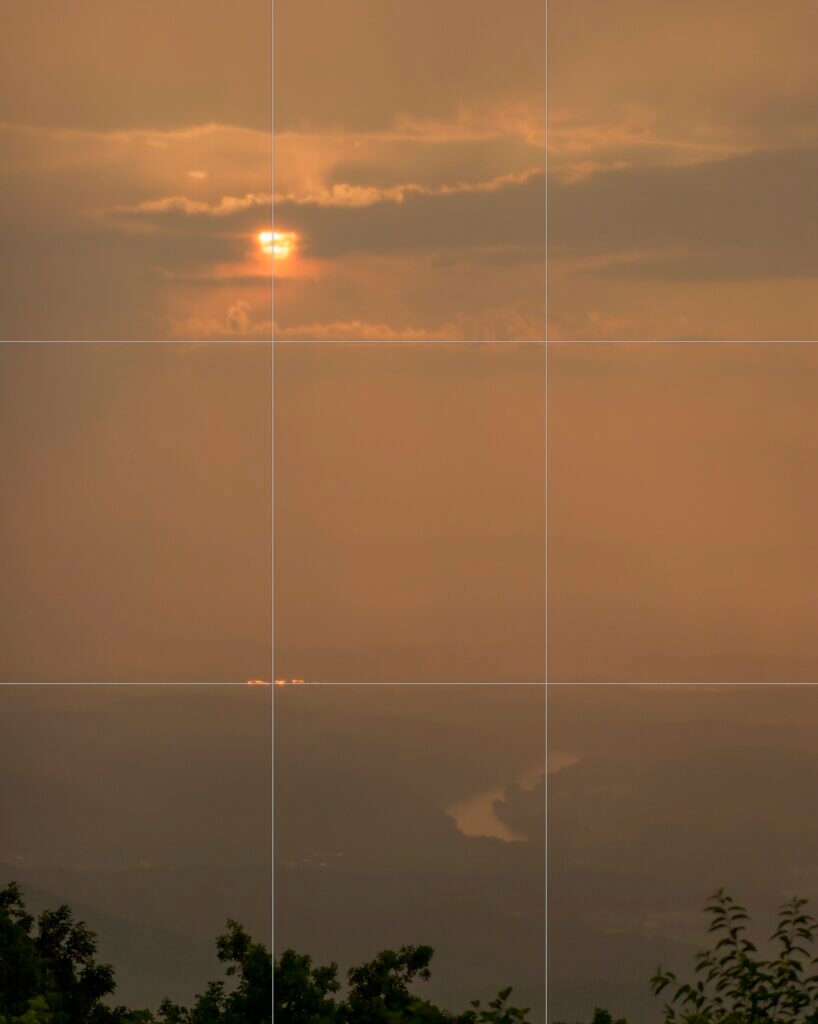
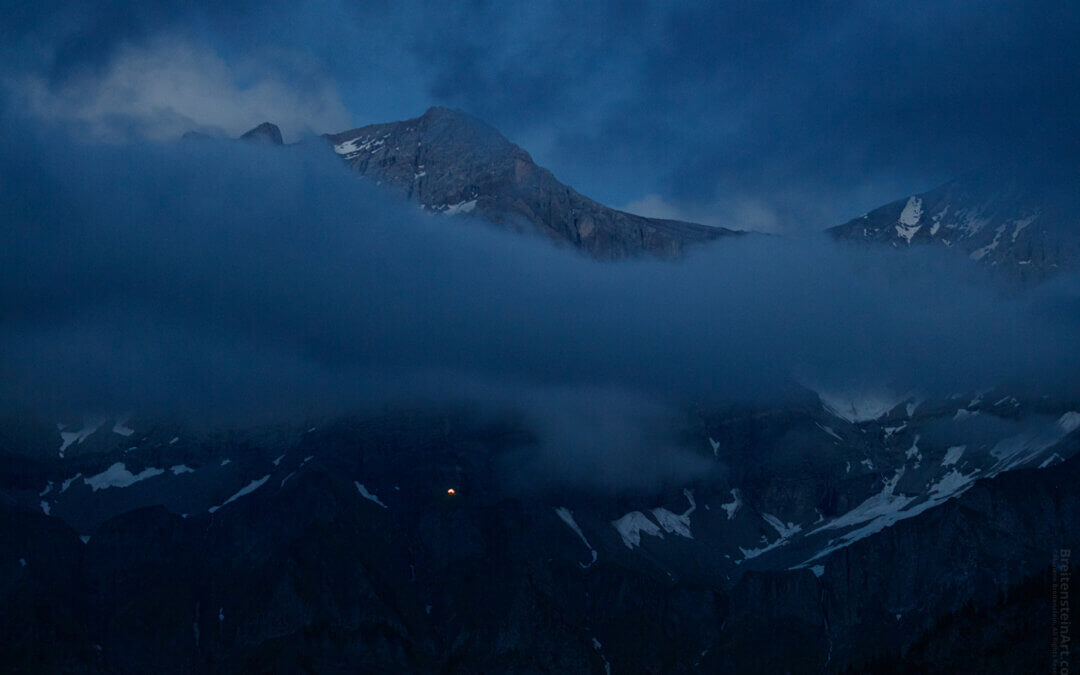
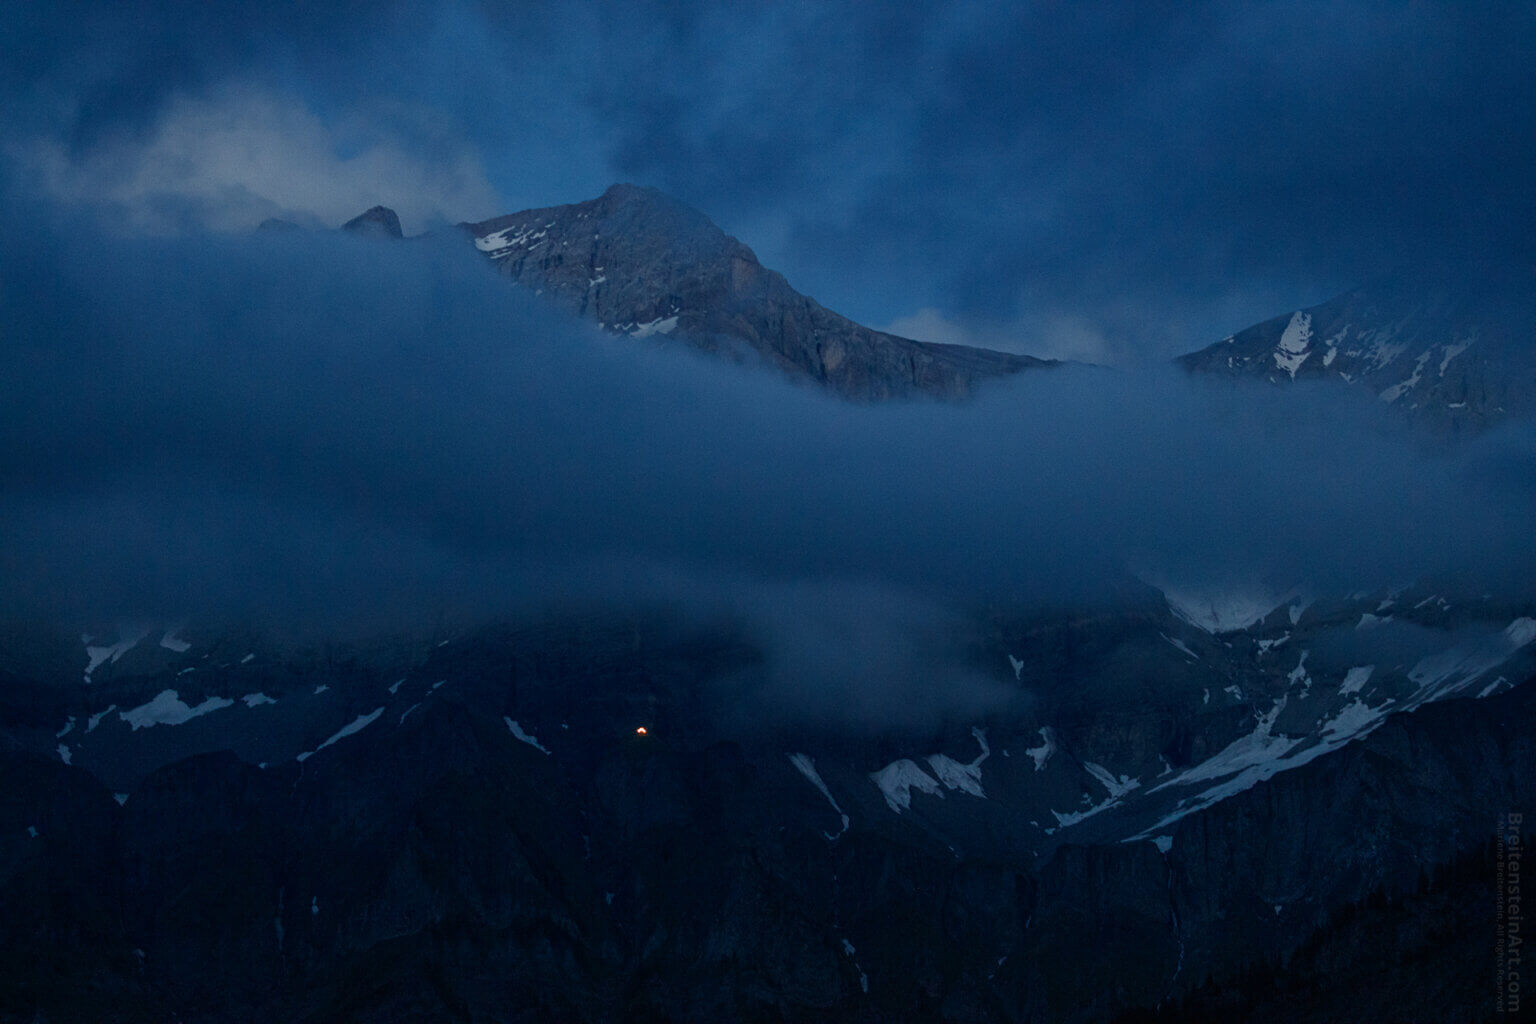
For example, I wasn’t prepared for a shot at near-dark. Even though I had my camera on a tripod (first time, in the year since I bought my DSLR!), pressing the shutter kept shaking the camera, causing blur. It took many photos to get one that was sharp enough to use. This is the only one where the tiny house illuminated on the mountainside didn’t come out streaked:

Photograph near dark, of snow-streaked mountain peaks, partly obscured by a band of clouds, under a cloudy sky. The scene is a gamut of muted blues, and there is a very tiny yellow light, the illuminated peak of a house on the mountainside.
The cusp of night, Adelboden, Switzerland.

Exposure

  • Increase your skill at setting exposure, using ISO, aperture, and shutter speed effectively and quickly.
  • Auto-bracket when it makes sense.
  • Stop shooting when it’s too dark, if a tripod is not at hand.

Equipment

I need to learn my camera a bit better. Maybe you too? If so, I hate to say it, but RTFM some more. Same for your lenses. All your equipment.

Try alternate settings. For example, I set my camera to higher saturation, for less processing effort later. Some settings can be stripped by editing software, if desired.

I’m not a gear-head. With one camera, three lenses, and a polarizing filter, I’m a minimalist when it comes to equipment, and I don’t want more. That said, lately I’ve realized that a few additional items could help me achieve better work with less effort, such as a few more filters, and that remote shutter trigger I mentioned above.

Choose wisely, buy the best you can afford, and purchase filters or other gear that will help get the desired effect in-camera. Once you have them, practice, practice, practice.

All of these points involved more time studying the craft of photography. I’m reminded of this great series on Creativity by The Oatmeal. I know studying sucks, but, “Do it anyway.”

An exception to too many photographs: Photo Stacking

There is at least one really good reason for taking many photos of the same subject, from the same angle: photo stacking. This is the method to use if you want every part of a photo to be in insanely sharp focus. It’s used in landscape and macro photography.

Joey Terrill is a master of this technique, sometimes stacking a whopping 98 photos, which he often describes on Glass.

I haven’t tried this yet, but will.

Thanks for your time and attention, both are valuable. 🙏🏻
I invite you to view my photographs and paintings, and to learn more about me.


If you liked this post, you have options:


©Marlene Breitenstein. I welcome your inquiries about purchasing, licensing, or republishing my work. I take my intellectual property seriously. This post and its contents, unless otherwise noted, is owned by Marlene Breitenstein. It is not to be reproduced, copied, or published in derivative, without permission from the artist.

Newsletter #1

Newsletter #1

Howdy!

Welcome to my first artist’s newsletter, I’m delighted you’re reading this.

News

  • Photo, meet poetry. I started a new artist’s blog too! Despite being the beginning, I called the inaugural post Endings: first a photograph, then a poem. If the coupling of images and words also floats your boat, check it out.
  • Wallpaper for your desktop or tablet. Download higher resolution versions of the following photos (click any you want, fits screens up to 2560 wide):
    [This is a benefit for people who’ve signed up for my artist updates. I invite you to sign up, too! Learn more here.]
Photo of green rolling hills in Germany's Black Forest, the upper portions covered in spruce trees. in the valley is a road, two houses and a barn, and trees with autumn foliage.
Photo of two tall pine trees in a soft peach-colored mist, with greenish-gray foliage in the foreground, and a low bank of barely visible trees in back.
Photo of the interior of a forest at late dusk, with a soft blue mist coloring everything, except the end of a branch of autumn leaves in the lower right corner.

Inspiration

An experiment. Over the last few months, I’ve considered mixing photography with painting. This week, I ordered samples of photographic prints on various papers and substrates, as well as a proof of a larger print. When these arrive (should be in about 10 days), I will test them with a few media—starting with soft pastel and fixative—and see how they work together. I’m excited about this new direction! Watch for future developments.

Techniques

Tips: If you too are an artist or photographer, two of my blog posts in the last month might be of interest:

  • Strategic Photo Posting on Social Media – Whether you’re a professional or hobbyist, you can benefit from strategic photo posting. Having clarity on what you want to be known for directs your choices, significantly improving the impression you make. read more
  • Benefit from Standing Back – Artists learn to take a few steps back from their work, to assess progress.  Photographers benefit from this same technique, when selecting possible works to share, and when processing photos. Learn why and how you can use this technique. read more

Challenges

Rejection as motivator. Last week I applied to participate in an open studio event, happening this fall. This week I received a rejection notice. The worst part is, I wouldn’t have approved my application either. I’ve let photography take precedence over painting this last year.

My takeaway? The work towards painting accomplishment needs to get back on track, so I moved some art supplies from my smaller upstairs studio into my second, much bigger studio space. Today I began putting pastel to paper, in a larger format than I’m used to, and will be experimenting with different techniques to expand my multimedia repertoire.

Results

Appreciation. Contrary to every experience I’ve had on other social media, I adore Mastodon. In less than 6 months I’ve garnered 600+ followers, made lovely online acquaintances, seen terrific work, and learned new things. The littler pond allows one to be a bigger fish, which is good for the artist ego. Appreciation stokes creativity.

I appreciate you, too! Thanks for reading. If you’ve poked around my web site and have questions about any of my creations, want to know more about Mastodon or Glass, or have constructive feedback about my work or this newsletter, feel free to reply to this email [contact me]. It’s great that you let me keep in touch with you!

💋
Marlene Breitenstein

P.S. See what I’m sharing on Mastodon.art, Glass.photo and my web site, BreitensteinArt.com


© Marlene Breitenstein. I welcome your inquiries about purchasing, licensing, or republishing my work.

Benefit from Standing Back

Benefit from Standing Back

While studying for my art degree, I was taught to frequently stand at a distance to assess my work, as I was creating it. Artists benefit from stepping back, because they can see how the whole piece is evolving, rather than getting caught up in details. That’s one reason why a painter will stand at their easel, instead of sitting: standing facilitates movement back and forth. (Of course, this can apply to drawing and sculpting, too.)

Think about what happens when you walk into a room of an art museum or gallery. Your eyes scan the work, and you find yourself attracted to the pieces with the strongest compositions and clearest elements.

It’s the same when deciding a photo’s potential: Step. Back. In between checking for focus, either view your images at small thumbnail size, or literally roll your chair away from the monitor to get a more distant view.

The Pitfall of Not Stepping Back from Your Work

Otherwise, here’s what happens: When looking closely at a photograph—necessary to make sure it’s sharp, if nothing else—it’s easy to get caught up in the beauty or serendipity of minutia.

It goes like this…

Oh my gosh, a tiny bird flew into the landscape I was shooting, and it’s sharp, and its wings are at attractive angles. It adds something special!

Sunrise photo of a hillside, topped by a lone, broad-canopied tree in silhouette. The sky has a dramatic orange glow and blue-gray clouds. The hill is lined by rows of vineyards. In the mid-ground are two tall, slimmer trees, also silhouetted, and in the low foreground are the orange and green leaves of autumn grapevines.

Luckily, this image works for numerous other reasons, than the tiny bird that you can only see, blown up at full resolution on a large screen. This image benefited from me stepping back and looking at the whole work.
See the cool, beautiful bird?

… or like this …

Holy cliché, Batman, check out the dew drops on those leaves (or flower petals, or insect wings). They’re sublime!

Isn’t the light reflected in these dew drops stunning? (Can you see the dew drops clearly enough to tell?)

We photographers LOVE the close-up details of our zoomed-in, giant, on-screen image. You know, that same detail that maybe nobody else will notice when the image is at thumbnail size, before they enlarge it to … medium size, and maybe still don’t see the element that was screaming beauty at you (especially if the image has been compressed).

How You’ll Benefit with Distance

To benefit from standing back, look for a strong composition, either as shot, or in processing potential. Ask yourself questions like:

  • Do—or will—important elements fall on the 3×3 grid lines, the rule of thirds? (If you’re breaking the rule, do so intelligently.)
  • How’s the overall interplay of light and shadow?
  • Have you effectively used shape and/or form?
  • Does the photo offer eye-catching color harmony, contrast or highlights?
  • Where does the “negative space” direct the eye?
  • Do contrasts, colors, and/or shapes keep the eye bouncing around in the photo?
  • Conversely, do any elements draw the eye out of the photo, never to return?

Here’s an example of the rule of thirds, color harmony, negative space and highlights:

Your Work: Small and Strong

Whether a photo is eye-catching is key. Your photo at thumbnail size must catch the viewer’s eye, or nobody’s going to enlarge it (or zoom in), to see any of the glorious details. If your photo doesn’t work at thumbnail, it’s likely not your strongest work. When a photo is muddy and the elements are rather indistinct at thumbnail size, consider whether it’s worth posting, or if you should just move on to the next.

This also applies to processing your photos. It’s a good idea to frequently step back, to see how your tweaks are affecting the overall composition.


Thanks for your time and attention, both are valuable. 🙏🏻
I invite you to view my photographs and paintings, and to learn more about me.


If you liked this post, you have options:


©Marlene Breitenstein. I welcome your inquiries about purchasing, licensing, or republishing my work. I take my intellectual property seriously. This post and its contents, unless otherwise noted, is owned by Marlene Breitenstein. It is not to be reproduced, copied, or published in derivative, without permission from the artist.